![CAPA Process_ Step-by-Step Instructions [+ Free Infographic]](https://www.greenlight.guru/hs-fs/hubfs/CAPA%20Process_%20Step-by-Step%20Instructions%20%5B+%20Free%20Infographic%5D.png?width=800&height=400&name=CAPA%20Process_%20Step-by-Step%20Instructions%20%5B+%20Free%20Infographic%5D.png)
The CAPA process is a frequent topic of discussion here at Greenlight Guru, mainly because it’s still such a big issue for medical device companies. Year after year, CAPA (corrective and preventive action) is always one of the most cited areas for 483s and warning letters during FDA inspections.
Given that your CAPA process will always be evaluated during an FDA inspection or ISO audit, it’s important that medical device companies have an airtight CAPA process in place. So, here’s the step-by-step process we recommend that will help any medical device manufacturer get the best results from their CAPAs.
What is a CAPA process?
A CAPA process is a systematic approach used by companies to address corrective and preventive actions (CAPA). It involves identifying, documenting, and resolving systemic issues to ensure compliance with industry regulations and promote product quality and safety. The CAPA process is crucial for organizations, as it helps them identify the root causes of problems, develop and implement appropriate action plans, and verify the effectiveness of the implemented solutions to prevent a recurrence.
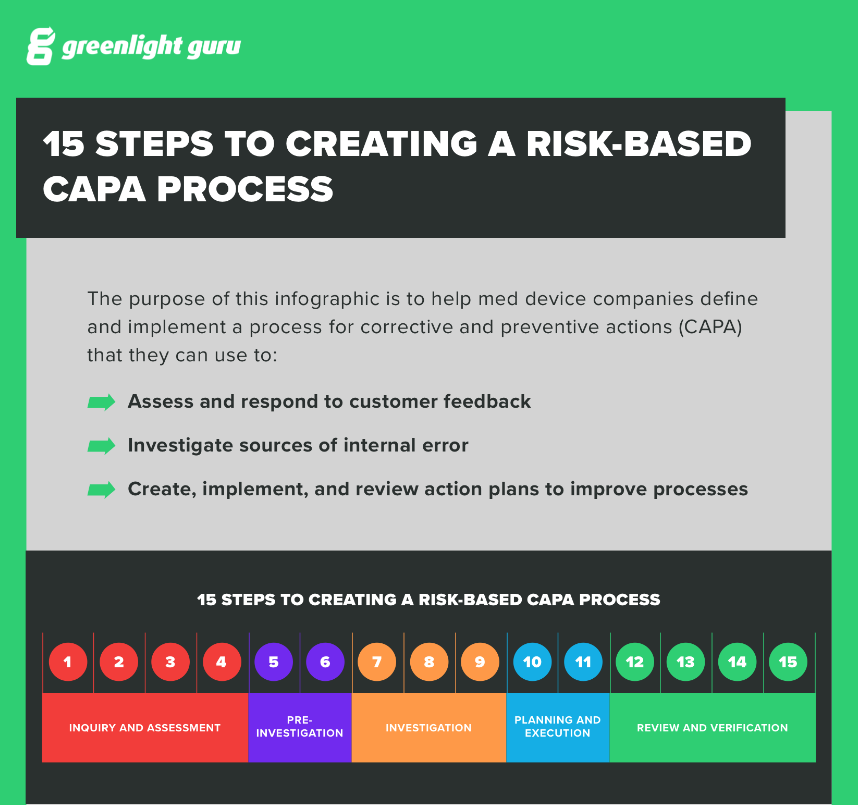
Breakdown of the CAPA process and procedure steps
The key thing about the CAPA process is that it should be used judiciously. You want to have a great process in place when an issue does trigger a CAPA. But you also have to consider whether the issue at hand meets the requirements for your CAPA process. Remember, only systemic issues should trigger your CAPA process—not every nonconformance is a CAPA!
However, once you identify a problem that you believe is worthy of a CAPA, here are the steps you should follow:
FREE RESOURCE: Click here to download your own PDF copy of the full CAPA Process Infographic.
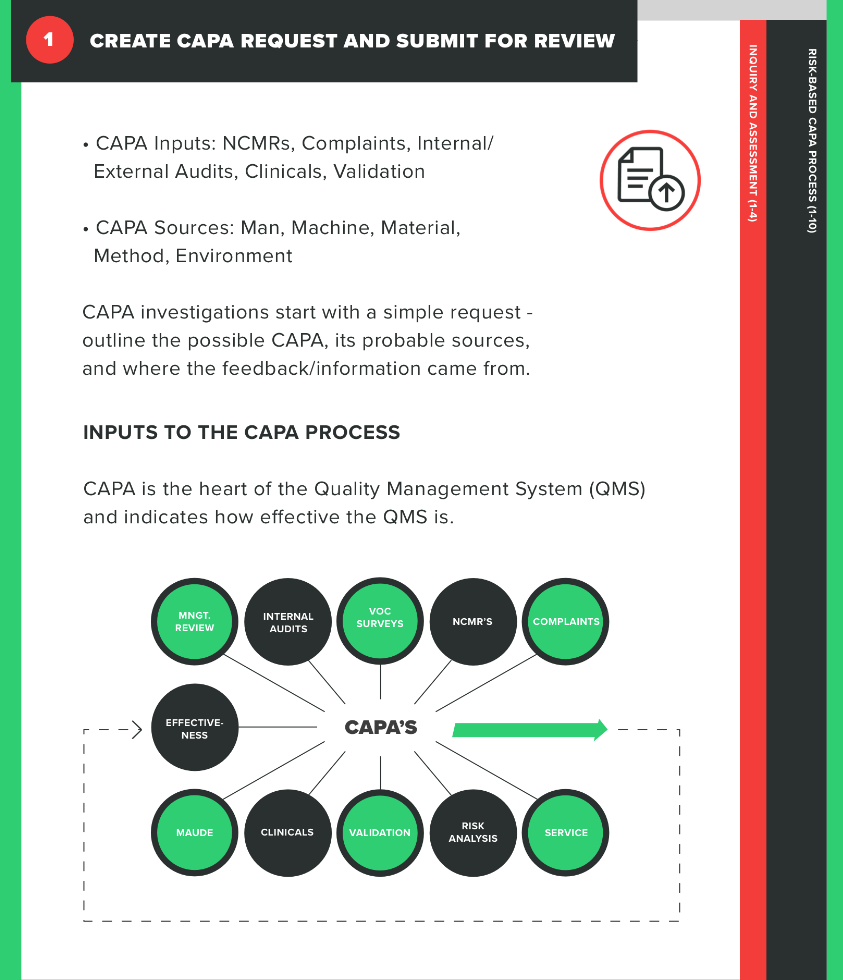
1. Create a CAPA request and submit for review
The first part of your process is determining whether the issue at hand actually requires a CAPA. This means submitting a CAPA request that will then be reviewed by individuals within the company who have the knowledge to make the determination of whether a CAPA is necessary in this case.
During the CAPA request, you’ll need to identify your sources for this CAPA and record them. For example, did the issue that triggered the CAPA stem from an internal audit, a customer complaint, or a nonconformance? Be very clear about what the issue is and how it came to light in your request.
2. The appropriate personnel should review the CAPA request
Your sources and reviewers will determine whether the CAPA should be accepted and formalized into your quality system.
Who should be reviewing the CAPA request? Usually, someone from quality—such as a quality manager—will play a critical role, but it doesn’t have to be just one person. Many companies use a Management Review Board (MRB) or Quality Review Board (QRB) to review CAPA requests as a team.
An important tip—it’s a good idea to set up these meetings on a recurring basis, not just for your CAPA process but for all quality events or issues. A regular review of any issues that arise will help you keep your finger on the pulse of your organization.

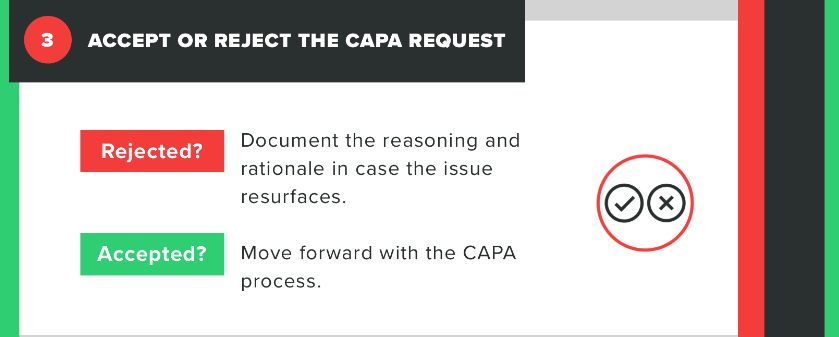
3. Accept or reject the CAPA request
Once the CAPA request has been reviewed, it will either be accepted or rejected by the board or individual in charge of the review.
If the CAPA request is rejected, the rationale behind the rejection should be documented and kept for your records. Just remember that this doesn’t mean the issue you’ve raised is not a problem. It still may require a solution, but that will need to happen outside of your CAPA process.
If the CAPA request is accepted, you’ll move on to the next step in the process.
4. The request is formally initiated as a CAPA
When a CAPA is initiated, you need to assign it a tracking or identification number, both for documentation purposes and to help you keep track of it throughout the CAPA process. There should always be a clear trail of documentation and a way to monitor progress for a specific CAPA.
Many companies have received warning letters or observations for failing to track CAPAs properly, especially if that failure to track meant CAPAs were left open indefinitely.
Keep in mind, there is no specific timeline for closing a CAPA. You’ll often hear “90 days” as the standard, but setting that as the goal for every CAPA can lead to people cutting corners as they try to close the CAPA within that time frame.
Instead of creating an arbitrary timeline, your best bet is to work in a timely manner and follow the plan you have in place for your CAPA process. If it takes longer than 90 days to do a thorough investigation and ensure you’ve corrected the issue and prevented it from happening again, then so be it.

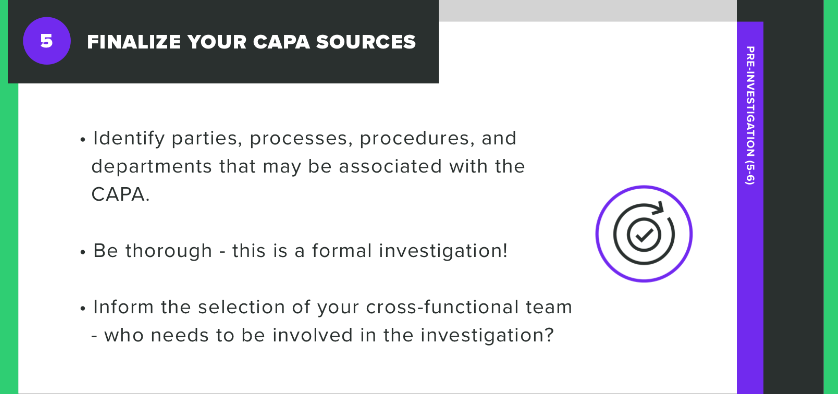
5. Finalize your CAPA source
Think of this as getting your ducks in a row before you start taking action. Identify any sources contributing to the CAPA, including processes, product, or other quality problems. You’ll rely on this information as you perform your investigation, so be as thorough and holistic as possible as you gather your information.
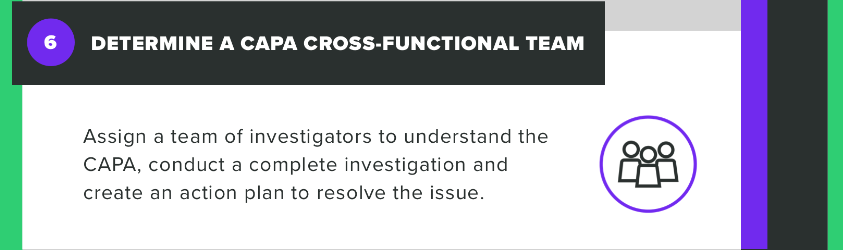
6. Determine a CAPA cross-functional team
Your CAPA should be treated like a project. Once you’ve clearly determined the sources, products and processes involved with the CAPA, this will help you to identify the people you need on the team overseeing the investigation.
For example, you might need engineering, marketing, manufacturing or regulatory as part of your team. Whatever the case may be, build your CAPA team appropriately for addressing the issues identified.
7. Identify any immediate actions or corrections required
This next step in the CAPA process is to identify anything that will require you to take action immediately. For example, if you identify an issue with a particular product, you may need to quarantine any finished product you believe was affected by the issue that triggered the CAPA. In an extreme case, you may need to consider issuing a recall, which is something that has to happen immediately.
The bottom line is that this step in the CAPA process is about containment. Are there any actions you can take immediately to prevent the issue from continuing or becoming more widespread? If so, then you need to take those actions now and then move on to finding more durable long-term solutions to the problem.

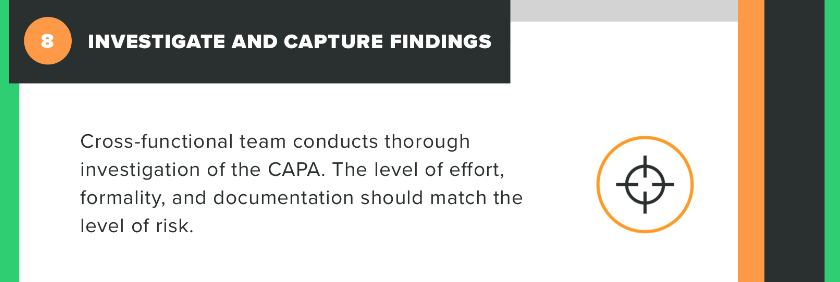
8. Investigate and capture findings from the CAPA
Once you’ve taken care of any pressing issues stemming from the CAPA, you’re ready to conduct a thorough investigation of the problem.
This means returning to the sources of the CAPA—the product, processes, and people involved—and examining every aspect of the issue. Make sure you understand the who, what, when, where, why, and how of the problem at hand. The goal here is to leave no stone unturned as you seek to determine the root cause of the issue.
Remember to document all your findings while you work, as this will leave you with an important record of how you came to your final determination of the root cause.
9. Determine a root cause of the CAPA
Determining a root cause is the ninth step in the CAPA process for a reason. All too often, medical device companies will skip straight to this step, ignoring the earlier process and documentation-oriented steps.
It’s understandable that you’ll want to get to the bottom of a systemic issue quickly. But by immediately jumping into a root cause determination, many companies simply restate the problem in different language, rather than finding the root cause. Without a well-documented and thorough investigation, you risk never finding and fixing the root cause of the problem that triggered your CAPA. And that means you’ll probably be opening another CAPA for the same issue in the near future.
There are a number of tools and techniques you can use to determine a root cause, such as a fishbone diagram, a fault tree, or the 5 Whys method. All have their pros and cons, so take some time to figure out which root cause analysis is best for your situation.

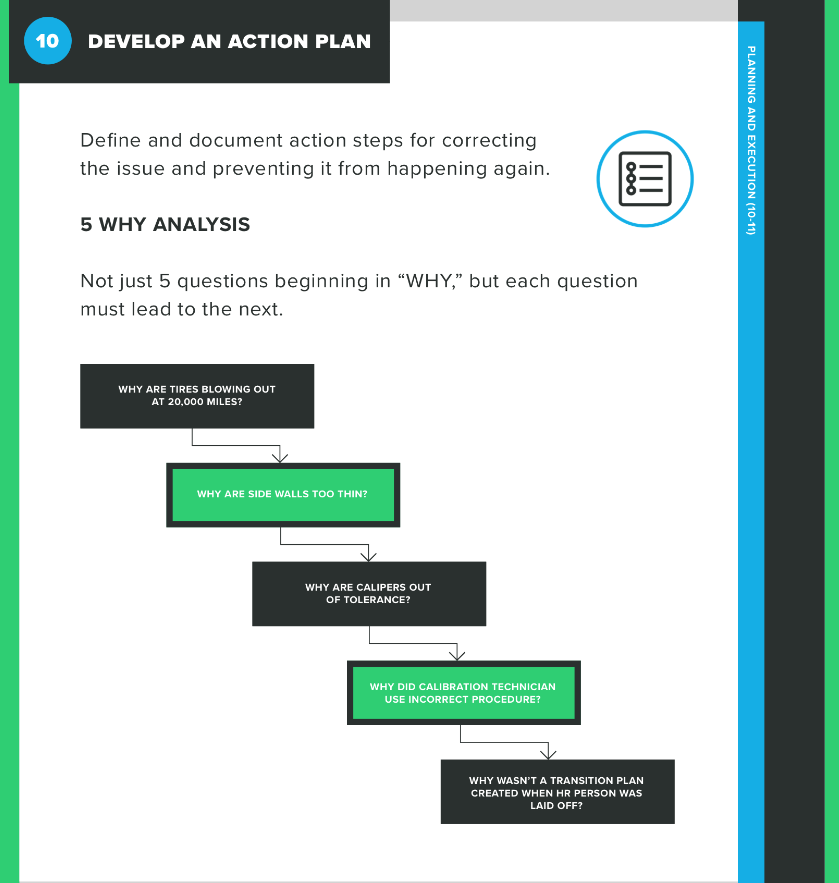
10. Develop an action plan for your CAPA
This step should shed some light on why it’s so important to determine the root cause of the issue.
At this point of the CAPA process, you’re laying out the series of actions you’ll take to correct the problem and/or prevent it from happening again. If you haven’t correctly identified the root cause, you may come up with a number of actions that really amount to busy work. In other words, your action plan is only as good as your root cause determination.
Your action plan should include specific steps you will take as an organization, as well as deadlines for completing those steps. Again, there is no one timeline that works for every CAPA, but you don’t want to let it drag out any longer than necessary.
Your action plan should demonstrate that you understand the importance of closing the CAPA in a timely manner and that you have a process in place to do so.
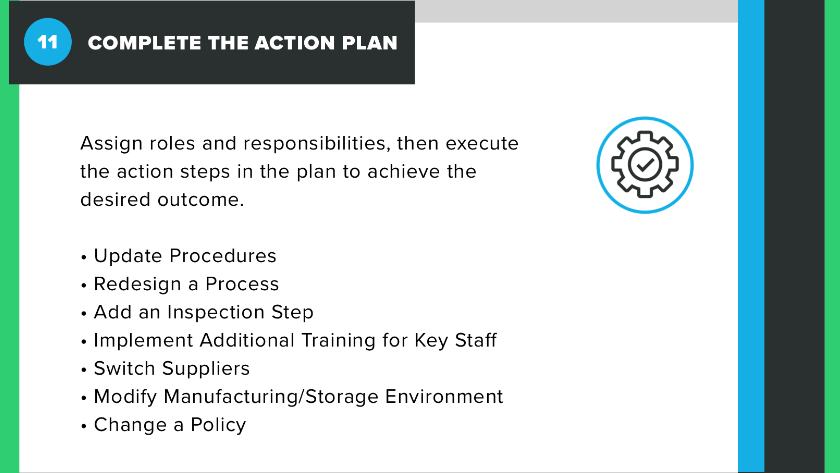
11. Complete the action plan
Here, you’re simply taking the actions you previously identified. This may include updating your CAPA procedures, redesigning processes, or even adding an inspection step.
As with every other step in your CAPA process, be sure that you are thoroughly documenting these actions and keeping your records easily accessible for both internal stakeholders and auditors.
Not only does this help keep you compliant with regulations, it also helps ensure that the changes you’ve made within the organization will stick. After all, this isn’t just about compliance. This is about making sure your methods and procedures reflect a commitment to True Quality.
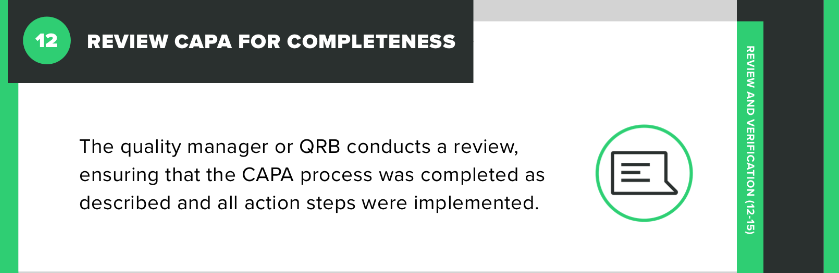
12. Review CAPA for completeness
In this step, the CAPA goes back to the cross-functional team and the MRB or Quality Review Board to assess whether it has been satisfactorily completed. If not, you may need to repeat steps in the CAPA process, such as determining the root cause or developing an action plan.
If the reviewers decide the CAPA has been completed to their satisfaction, then it moves on to step 13.
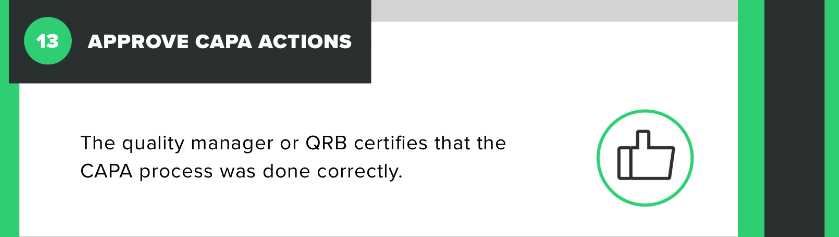
13. Approve CAPA actions
This step requires those with oversight to sign off on the CAPA investigation and outcomes. This should only happen if they feel the investigation and the actions taken have been successfully corrected and/or prevented the systemic issue that triggered the CAPA.
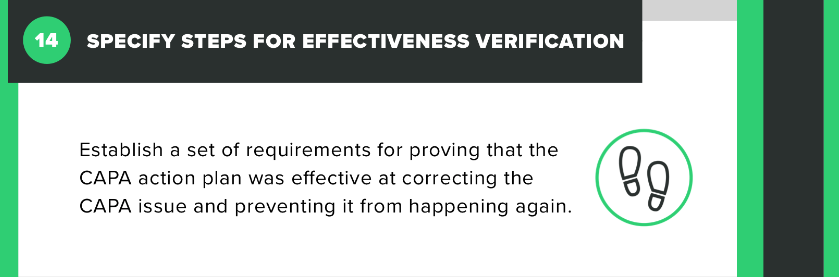
14. Specify steps for effectiveness verification
It does feel as though step 13 should be the final step, but that isn’t the case. Many companies do end their CAPA process there, but by doing so, they’re missing a crucial part of the process: verification.
Yes, you still need to make sure that the actions you took were effective. They may have sounded good on paper, and they may have been given the thumbs up by the reviewers, but that doesn’t mean they necessarily worked.
In this step of the CAPA process, you’ll have to identify some methods for proving that the actions you’ve taken have been successful. For example, if you added an inspection step, you’ll need to confirm that the extra step has prevented the issue from recurring. So, you’ll need to plan verification activities that prove this is the case.
Remember to capture all your verification activities during this stage in your quality system as well as which items of your action plan they correspond with.
15. Verify the effectiveness of the CAPA
The final step in your CAPA process is the verification that the steps you took to correct and/or prevent the systemic issue that triggered your CAPA were successful. If you set up your verification activities properly in the previous step, you’ll simply need to document the outcomes and assess them.
And if you’ve followed your process every step of the way, there’s a good chance that your actions have proven effective and you can close the CAPA.

NOTE: For a deeper dive into all things CAPA, check out our Ultimate Guide to Corrective and Preventive Action (CAPA)
FREE RESOURCE: Click here to download your own PDF copy of the full CAPA Process Infographic.
Adopt a purpose-built solution to help you manage the CAPA process
A good CAPA process relies heavily on thorough investigation and documentation. When patient safety is at stake, you really can’t afford to do it any other way.
But it does raise some challenges. Imagine having two or three CAPAs going at once. How would you keep track of them all and ensure you’re taking action in a timely manner?
With a paper-based quality management system (QMS), that burden rests entirely on your team’s shoulders. They’re forced to navigate and find information within any number of disconnected and generic tools.
That’s one of the reasons we built a dedicated CAPA management workflow into the Greenlight Guru QMS solution. With Greenlight Guru, the CAPA process and workflow are well-defined and built into the platform for your use on day one.
At Greenlight Guru, we want to make it as easy as possible for companies to effectively manage their risk-based CAPA process in a connected ecosystem, where inputs and outputs tell the true story. We make it simple to define and follow your CAPA process to ensure it remains both effective and compliant.
So if you’re ready for unparalleled visibility into your CAPA process, then get your free demo of Greenlight Guru today!
CAPA Management Software for Medical Devices