3 Tips for Planning a Successful Product Development Project for Your Medical Device

If you’ve ever been involved in the design and development of a medical device, you know just how complex the process really is. Not only are you attempting to create the safest, most effective device possible, you’re doing it in a heavily regulated environment.
That's why it's important to rely on sound project management principles to ensure that your medical device development project finishes on time and under budget (or as close to it as possible).
Identify and commit to the critical path of your project
A project’s critical path is made up of all the essential tasks that define the shortest length of that project. The critical path method is commonly used in project management, and it takes into account that many essential tasks are dependent on the completion of tasks that precede them.
For example, the critical path for a peanut butter and jelly sandwich would consist of getting out the bread, spreading the peanut butter, and spreading the jelly, assuming you have all the ingredients on hand. The critical path of a medical device development project will be just a bit more complex than that, but the general principle is the same.
Here’s how a critical path is often represented visually:

One important thing to remember is that a delay in any task in the critical path will delay the next task—and possibly the entire project. As one of the bars in the image gets longer (due to a delay) the entire chain becomes longer.
One of the most prevalent reasons projects are delayed is because of an insufficient focus on the critical path. Sometimes this is the fault of the project manager, but it’s often a group failure—the critical path is not brought up in meetings as the project progresses. Then a sudden delay in one task sends a cascading effect through the rest of the critical path and everyone is shocked that the project is now off-schedule.
The way to avoid this kind of delay is simple in theory, but requires commitment on everyone’s part.
First, you need to identify the critical path and make sure that everyone involved in the project understands the relationships between tasks. This is particularly important in the medical device industry, where regulations often preclude you from skipping steps, performing actions simultaneously, or coming back to a task later on. For instance, you can’t sterilize your device until it’s been manufactured, and you can’t perform a biological evaluation on it until the device has been sterilized.
Then, you need to bring up your team’s progress along the critical path at every meeting. That way, if there is a potential delay to the project due to a delay around one of the tasks, you can focus resources on quickly getting back on track, rather than waiting until the delay has become too big to fix.
Build extra time into your critical path when you plan it
If you ask someone how much time it will take them to complete a given task, they will usually respond with a forecast that is highly probable, rather than an extremely short or extremely long period of time.
However, they will almost certainly pad the time estimate a bit. For example, let’s say that Sarah knows there is a high probability she can finish a design in four days. It could be a little sooner; it could also be much longer. The probability that it will take 12 days is very low, but it is not nonexistent.
Sarah knows all of this intuitively, and she doesn’t want to tell her boss she will get them the design in four days and then fail to deliver (delaying the critical path). So she doesn’t tell her boss the most probable time of four days. Instead, she says she’ll finish it in eight days. This is padding, and it happens all the time.
To some extent, padding is a good thing. It provides some wiggle room in your critical path to account for unforeseen delays. Still, there is a problem with padding, and it’s called Student Syndrome.
Sarah still knows she can get the design done in four days. So, the question is, when do you think she will start working on it? The most likely answer is that she will start working on it on the third or fourth day and finish it on day eight—exactly when she told her boss she would.
We call this Student Syndrome because it’s how a college student will work on a big paper or project. They wait until the last possible moment before waiting any longer will affect their ability to complete the task at a certain level of quality.
The problem with this sort of planned procrastination is that for the purposes of the project, this is the same as adding in no padding at all. And you want padding! It ensures that one small delay doesn’t make the entire project late.
What many project managers do is simply add all the padding to the end of the project, which is a pretty good idea because it helps eliminate Student Syndrome by giving everyone deadlines without padding. Even if they’re a bit late, that’s okay because the project manager has built that expectation into the timeline.
Except there’s one problem with this method: management loves to remove the padding you’ve reserved at the end of the critical path. They say, “Well, everyone just needs to get their work done on time,” and poof, your padding is gone.
That’s why some experienced project managers (I won’t name any names) will often have two timelines: one for management and one for their team. They both have padding, but the one presented to management doesn’t look like it has padding for them to cut out. You can get the best of both worlds that way. You have padding to deal with inevitable delays, but in the eyes of management, you’re still on schedule.
Use a risk management framework when creating your budget
Risk management is integral to bringing a safe and effective medical device to market, and it has specific connotations within the medical device industry.
However, you should be using risk management in the more general sense as you are putting together the budget for your medical device development project. I hope that the previous sections gave you a sense of the fragile nature of a project’s timeline as it progresses along the critical path.
So, given what we’ve covered,, it’s safe to say that your budget should not include only the exact amount of money you need to complete the project if everything goes according to plan. This is a mistake that a lot of junior project managers will make because they’re brimming with optimism and positivity and haven’t dealt with the cruel vagaries of medical device design and development.
Let’s get it out of the way now: your project will not go according to plan.
So, on top of your baseline requirements, you’ll need to build in a few different items into your budget:
-
Project risk management costs. This portion of your budget covers the costs of risk management activities you know you’ll engage in throughout the course of the project. For example, building several prototypes is a method of ensuring that your project is on track. That’s a way of managing your risk of a delay and would be covered by this part of the budget.
-
Contingency reserve. You can also call this Plan B. When you clearly see that something is going wrong, you’ll need some money to mitigate the consequences of that problem. For instance, if you lose a supplier, you may need more money to find a new supplier or produce the part yourself.
-
Management reserve. This part of the budget is reserved for unplanned changes around the scope of the project, its schedule, or its cost. Let’s say management asks you to add a feature halfway through the project. That’s not your fault, but it will definitely add to the expense of the project. And without a management reserve built in, your project will be “over budget” through no fault of you or your team.
Keep in mind, you won’t be spending the contingency or management reserves unless you’ve been granted that money for a reason that falls into one of those categories. Plan on spending only the baseline budget and risk management costs—but make sure the reserves are there if you need them.
Intelligent Document Management from Greenlight Guru keeps your team aligned and informed during product development
There are already plenty of things that can slow a team down during medical device product development—don’t let your review and approval workflows be one of them.
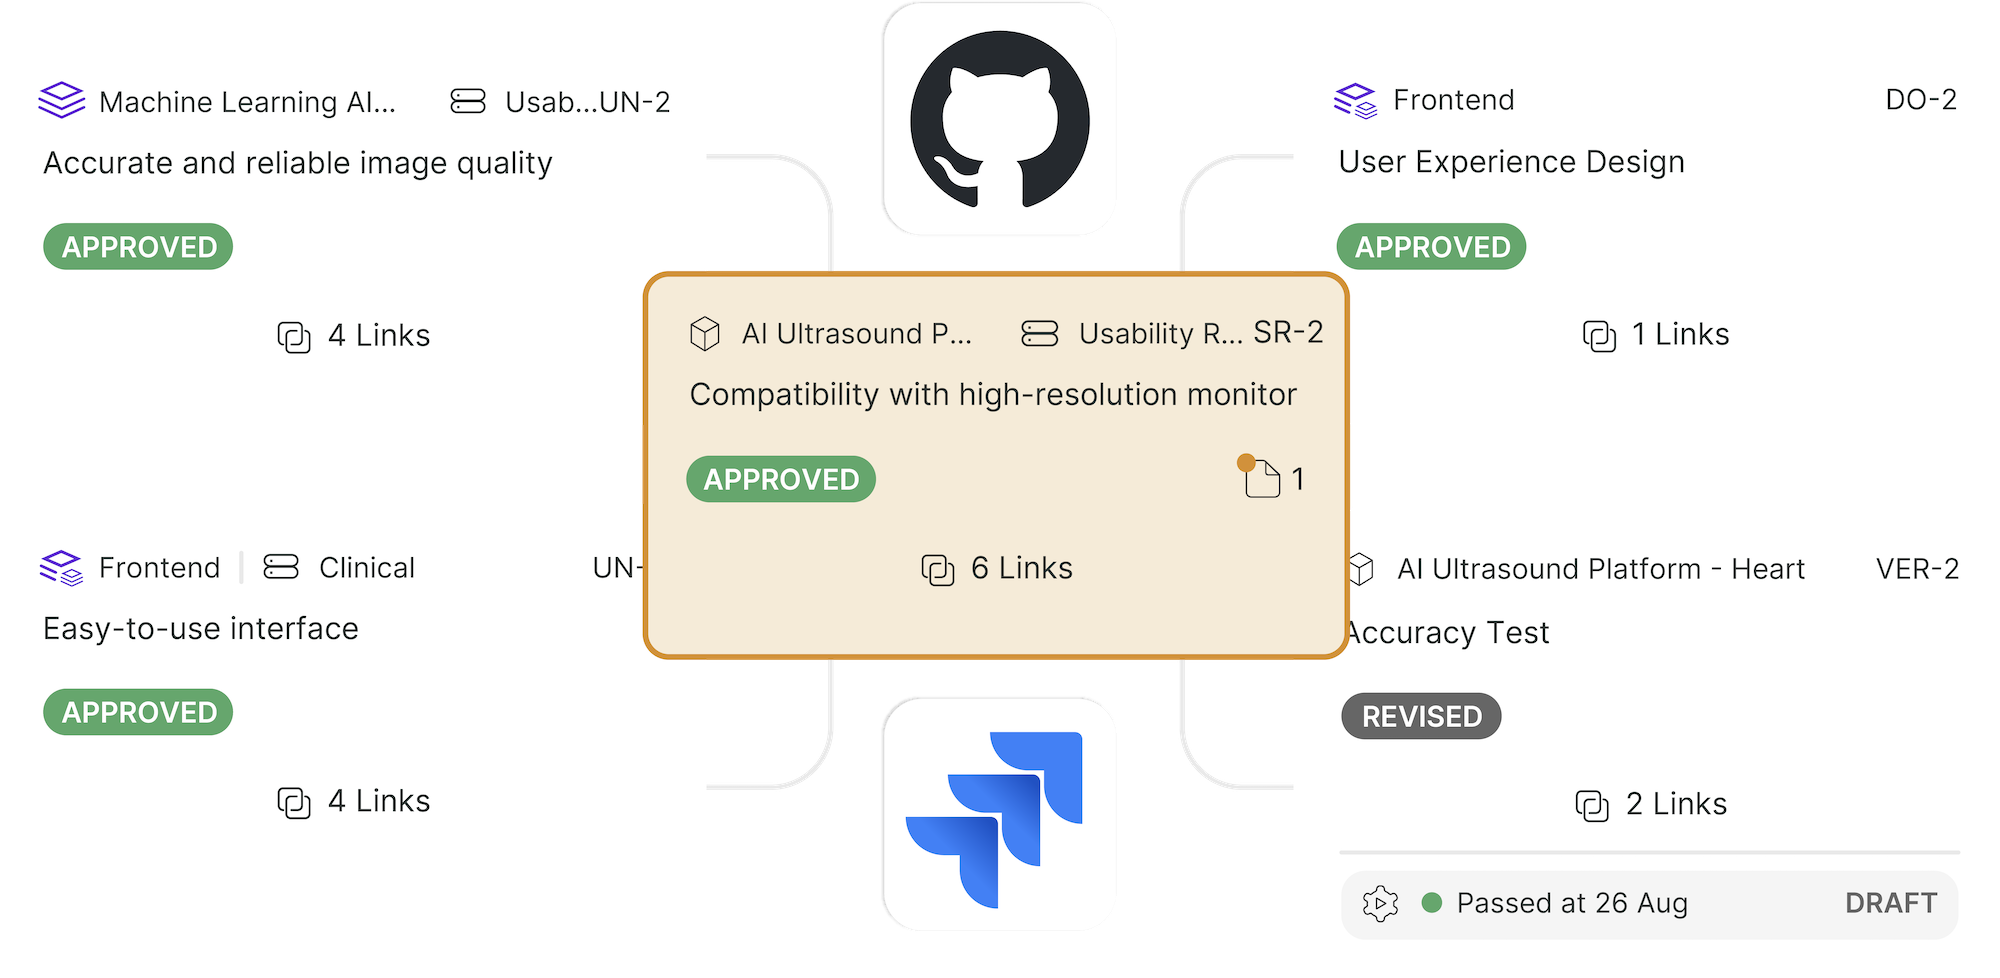
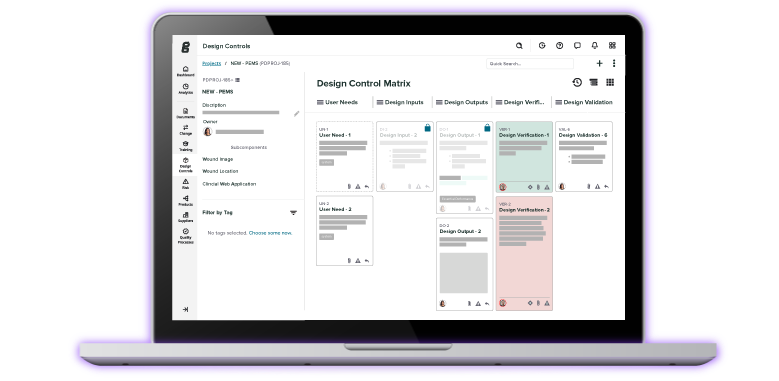
With Intelligent Document Management from Greenlight Guru, you can speed up review and approvals by keeping your documents, records and procedures organized, up-to-date and always accessible to the right people with role based security. You’ll have unprecedented visibility into your quality system, letting you see and interact with your documents in a single space.
If you’re looking for ways to keep product development on track, then get your free demo of Greenlight Guru today!
Looking for an all-in-one QMS solution to advance the success of your in-market devices and integrates your quality processes with product development efforts? Click here to take a quick tour of Greenlight Guru's Medical Device QMS software
Etienne Nichols is the Head of Industry Insights & Education at Greenlight Guru. As a Mechanical Engineer and Medical Device Guru, he specializes in simplifying complex ideas, teaching system integration, and connecting industry leaders. While hosting the Global Medical Device Podcast, Etienne has led over 200...
Related Posts
Verification and Validation in MedTech: A Practical Guide with Devon Campbell
6 Medical Device Product Development Steps To Fast-Track Your Path To Market
Top 50 Medical Device Product Design and Development Companies
Get your free resource
Medical Device Project Plan
